
Linux Installation
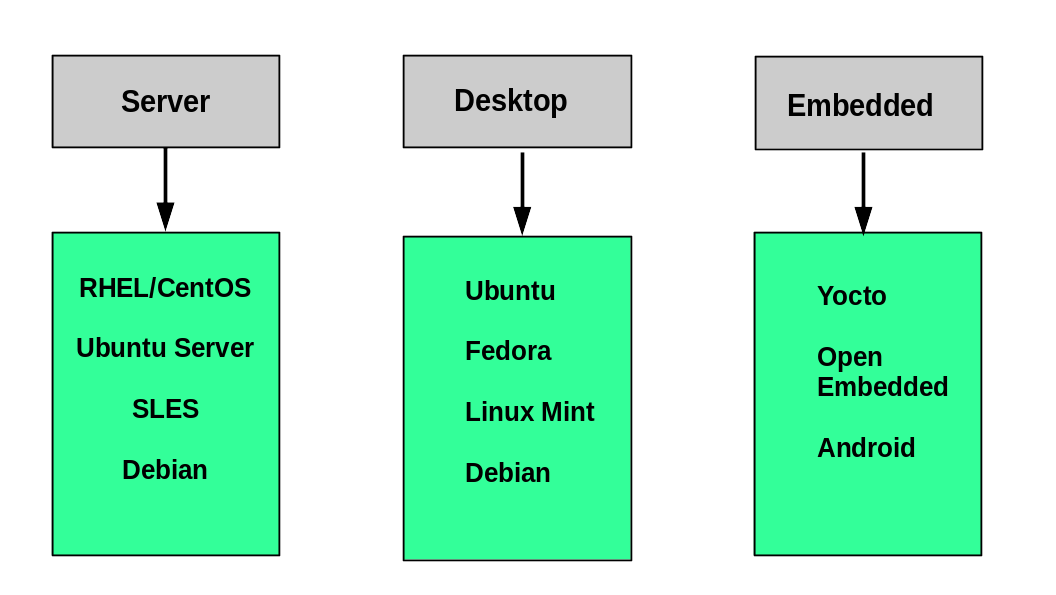
Choosing a Distribution
Section titled “Choosing a Distribution”There’s no universally “best” distribution - the right choice depends on what you’re doing with it. Here’s a practical lens:
| Use Case | Recommended Distro | Why |
|---|---|---|
| Learning Linux / general desktop | Ubuntu LTS | Largest community, best documentation, most Stack Overflow answers |
| Cloud VMs / servers (self-managed) | Ubuntu LTS or Debian | Default on most cloud providers, stable, minimal |
| Enterprise on-prem servers | RHEL / Rocky Linux / AlmaLinux | Long support cycles (10 years), compatible with enterprise tooling |
| Containers and minimal images | Alpine Linux | ~5MB base image, musl libc, zero bloat |
| Cutting-edge / rolling release | Arch Linux / Fedora | Latest packages, good for learning internals |
| Penetration testing | Kali Linux | Pre-loaded security tooling |
Key questions to ask before committing:
- Server or desktop? Servers can skip a desktop environment entirely - it’s just attack surface and RAM overhead.
- Support lifecycle? Ubuntu LTS gets 5 years standard support, 10 with Extended Security Maintenance. RHEL/Rocky get 10 years. Short-cycle distros (Fedora) release every ~6 months.
- Hardware compatibility? Newer kernels support newer hardware. If you’re on very new hardware, prefer Fedora or Ubuntu over older RHEL-family releases.
- Stability vs. freshness? Debian stable and RHEL ship older packages that are heavily tested. Arch and Fedora ship current versions. For production servers, older and tested usually wins.
Installation Methods
Section titled “Installation Methods”Bootable Media (Standard)
Section titled “Bootable Media (Standard)”The most common path: download an ISO, write it to USB, boot from it.
# Write an ISO to USB on Linux (replace sdX with your actual device - double-check with lsblk first)sudo dd if=ubuntu-24.04-live-server-amd64.iso of=/dev/sdX bs=4M status=progress oflag=syncOn macOS, use balenaEtcher. On Windows, use Rufus.
Network Install (PXE / Netboot)
Section titled “Network Install (PXE / Netboot)”Boot a minimal image over the network, pull the system down from a local or remote mirror. Common in enterprise environments where you’re provisioning many machines. Requires a PXE server (DHCP + TFTP) on the local network.
Automated / Unattended Install
Section titled “Automated / Unattended Install”All major distro families support fully automated installation via a configuration file - no interactive prompts:
| Family | Config File Format |
|---|---|
| Debian / Ubuntu | Preseed or cloud-init |
| Red Hat / Fedora | Kickstart (.ks) |
| SUSE | AutoYAST |
For cloud VMs, cloud-init is the universal standard - nearly every cloud provider uses it to configure the system on first boot (hostname, SSH keys, users, packages).
Virtual Machine
Section titled “Virtual Machine”The safest way to learn: no risk to your host system, easy snapshots, disposable.
- Linux host:
virt-manager+ KVM/QEMU (native performance, recommended) - Any OS: VirtualBox (free, cross-platform), VMware Workstation/Fusion
Partition Layout Planning
Section titled “Partition Layout Planning”Partition layout is one of the few decisions that’s genuinely hard to change after install. Most installers offer a sensible default (one big root partition + swap), but understanding the options is worth the 5 minutes.
The Basics
Section titled “The Basics”| Mount Point | What goes here | Notes |
|---|---|---|
/ | Root - everything that doesn’t have its own partition | Minimum ~20GB for a server |
/boot | Kernel images, initramfs, bootloader config | 512MB–1GB is enough; separate partition lets you encrypt root |
/boot/efi | EFI System Partition (UEFI systems only) | 100–512MB, FAT32, required for UEFI boot |
/home | User home directories | Separate partition means reinstalling OS doesn’t wipe user data |
/var | Logs, databases, package cache, spool files | Separate partition prevents a runaway log from filling root |
/tmp | Temporary files | Can mount as tmpfs (RAM-backed) for security and speed |
swap | On-disk memory overflow | SSD systems: consider zram instead of a swap partition |
Practical Recommendations
Section titled “Practical Recommendations”For a learning VM or personal desktop: Let the installer use the whole disk with its default layout. Not worth overthinking.
For a server:
Separate /var at minimum. Logs and databases filling up root is a classic production incident. A rogue apt download or an uncapped log can take down the system.
/boot/efi 512MB (UEFI only)/boot 1GB/ 40GB/var 20GB+ (size depends on workload - DB servers need more)/home remainderswap = RAM size up to ~8GB, then diminishing returnsFor containers/VMs:
/var/lib/docker or /var/lib/libvirt can grow very large. Consider putting /var or a dedicated partition on a separate disk.
What the Installer Configures
Section titled “What the Installer Configures”Every installer, regardless of distro, walks through the same sequence:
- Locale and timezone - Sets system language, keyboard layout, and clock.
- Disk partitioning - Guided (automatic) or manual. This is the step to pay attention to.
- User account and root password - Creates your initial user. Ubuntu disables direct root login by default; you use
sudoinstead (the right call). - Software selection - Server images offer task-based selection (web server, database server, etc.). Minimal install + add only what you need.
- Security setup - Some distros install SELinux (RHEL-family) or AppArmor (Ubuntu) by default. These are enforcing on first boot - don’t be surprised when they block something.
- Post-install updates - The installer may offer to pull updates during install. Do it if you have a connection; saves you a manual
apt upgradeafter first boot.